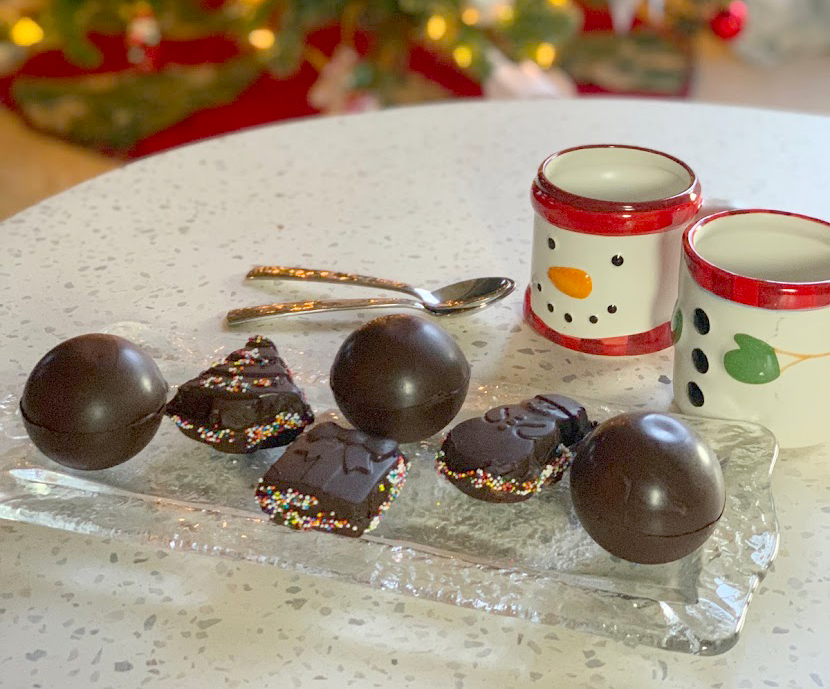
Hot Cocoa Bombs are super popular right now and that means they are VERY hard to find in stores. But, no worries because they are very easy to make! They are also a GREAT homemade gift. So, without further ado here is our DIY Hot Cocoa Bombs recipe.
Ingredients

- Baking chocolate or chocolate chips – Try the Classic Nestle Toll House Chocolate Chips
- Hot Cocoa mix – Go super fancy with Ghirardelli Premium Cocoa Mix
- Mini marshmallows and/or add-ins – Try these mini rainbow marshmallows
- Silicone mold – Like this one on Amazon
Note: In the picture above, I have a holiday themed non-stick mini cake pan. While this technically works for cocoa bombs, you will see some pictured with sprinkles around the edges because they are MUCH harder to get out of the pan. I prefer using the silicone round mold.
Instructions
Step One: Melt Chocolate
This really is a simple process. First, you need to melt your chocolate. For my round mold, I use roughly 1 1/2 rounded tablespoons of chocolate chips for each half circle. You will have to judge for yourself how much chocolate you will need depending on the size of your shape/mold.
I melt my chocolate in the microwave. You can use the double-boiler method, but for me it’s faster and easier to use a microwave. Put all of your chocolate in a microwave safe bowl and heat on high for 30 seconds. Then mix the chocolate and put back in the microwave at 15 second increments stirring between each one until the chocolate is melted. It is very important NOT to overheat your chocolate in the microwave. It will burn quickly if you are not paying attention!


Step Two: Add Chocolate to Mold
Next, put a spoonful of chocolate into each mold and spread up around all the sides. Make sure to get good coverage. When all sections are full, put the mold in the refrigerator for about one hour or until the chocolate has hardened.


Step Three: Remove Hardened Chocolate
Once hardened, remove chocolate from the mold. With the silicone molds this is incredibly easy. You just gently push from the back and it peels right out. With the non-stick mini cake pan, I had to use the edge of a knife or offset spatula to pop the chocolate out of the mold. (This made the edges really uneven which is why I don’t recommend using the mini cake pan unless you have no other option, but I was able to make it work.)
Step Four: Fill with Cocoa Mix & Add-ins
Next, fill half of your chocolate shells with an appropriate amount of hot cocoa mix and mini marshmallows or add-ins.


Step Five: Attach Top Shell & Enjoy
The last step is to attach the top shell. To do this, I heated water in a bowl in the microwave until hot. I poured the water out and turned the bowl upside down and used it to melt the edge of the empty shell. Once the edges were nice a melty, I just placed them on top of the filled shells and gently turned them to seal the bomb.
Finally, put them in the fridge one last time to set the chocolate seam and you’re done! Viola, you have DIY Hot Cocoa Bombs!

There are so many fun ideas you could do with this. Add crushed candy canes, caramel candies or even a larger marshmallow in a fun shape if it fits! My kids go crazy for these and I have given them as gifts multiple times – they always impress. Most importantly, have fun!
More from Today I Need A…
- Advent Calendars for the Whole Family
- Festive Christmas Cranberry Margarita Cocktail & Mocktail
- Pumpkin Bird Feeder – Fun Fall Family Activity
- Useful Things to Buy on Amazon – Fall 2020
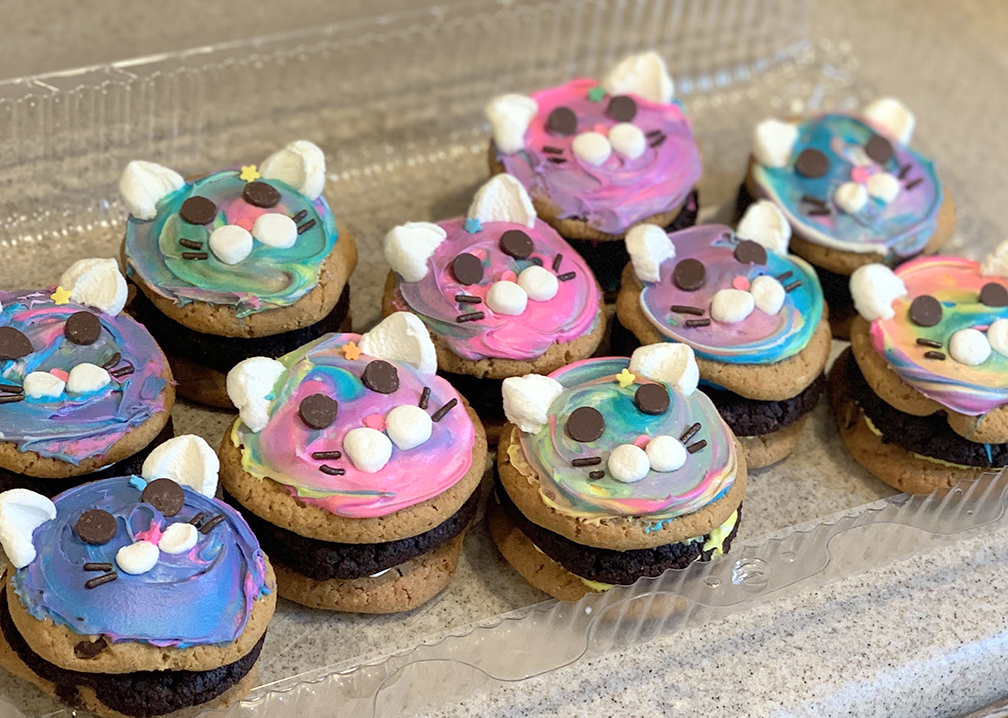
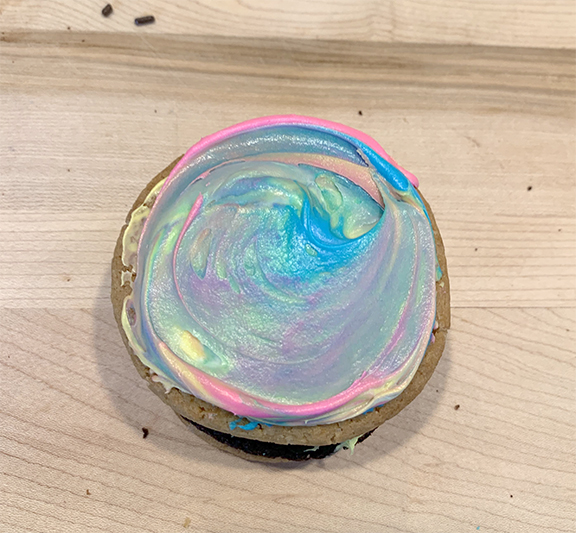
- Easy Cat Mini Cookie Cakes